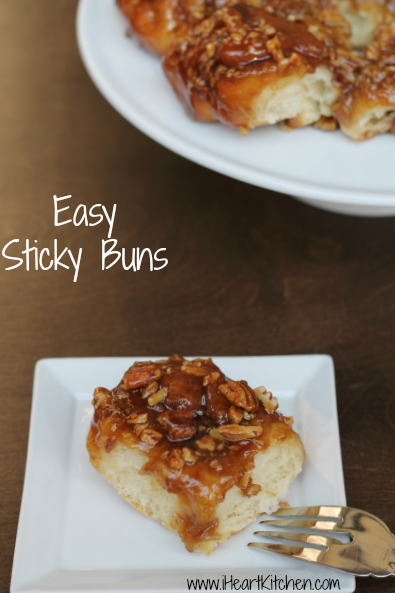
Every once in a while I get a craving for sticky rolls. With the weather getting chilly, these are perfect for a fall morning brunch. I whipped up a batch this past weekend and enjoyed my “mother of the day” status.
I often make these for Christmas or Thanksgiving morning because they really don’t take much effort. You dump ingredients into your bread machine and it does most of the work. I also like these for holidays because they feed a big crowd. They are so good but very, very rich. If you are dieting, you definitely don’t want to look at the ingredient list. It’s best to have a crowd help you eat them so you aren’t tempted to eat two (or four – tee hee!)
I got this recipe from a dear friend whose mom had pulled it from an old elementary school cookbook. I miss those old spiral bound cookbooks. The internet makes it super easy to find recipes but those old collection recipes just can’t be beat. Every recipe was a tried and true recipe that you know would be a winner. While mine is now a faded copy of a copy, it is definitely a share worthy recipe.
You will need a little time to let the bread machine do it’s work. So plan ahead and you can whip up the Easy Sticky Buns with very little effort. Pass these out to your friends and loved ones and get ready for lots of smiles and yummy noises!
- 1 cup warm milk
- 2 eggs, beaten (room temperature)
- 1 teaspoon vanilla extract
- 3 tablespoons butter, melted
- 1¼ teaspoons salt
- ½ cup sugar
- 4½ cups all-purpose flour
- 2½ teaspoons active dry yeast
- ¾ cup brown sugar
- 1 tablespoon cinnamon
- 6 tablespoons butter, softened
- ⅓ cup butter
- 1 cup brown sugar
- 1 tablespoon light corn syrup
- ¾ cup pecans, chopped
- Add the dough ingredients in the order listed into your bread machine. Select dough cycle, start and allow the dough to run the full cycle.
- About 10 minutes before the cycle ends mix the filling ingredients and set aside.
- In a small saucepan combine topping ingredients and heat on medium heat just until sugar has dissolved.
- Pour caramel mixture into a buttered 9" x 13" baking pan.
- Once the dough has completed the cycle, remove to a lightly floured work surface.
- Cover with a dish towel and allow to rest 10 minutes.
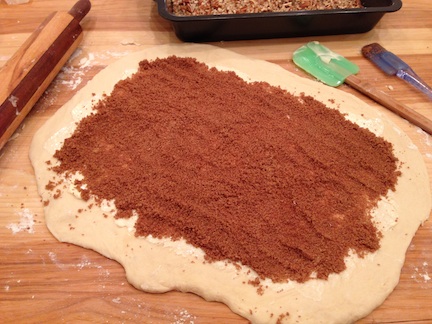
- Once it has rested, roll out the dough to a 15" x 20" rectangle.
- Spread the filling mixture over the dough and then roll the dough like a jelly roll lengthwise.
- Cut into 12 even rolls.
- Place in pan on top of the topping then cover with the dishtowel and allow to rise for 30 minutes.
- Preheat oven to 400 degrees.
- Bake rolls for 15 minutes or until golden brown.
- Remove from oven and place a platter (or sheet pan) on top of the rolls and flip.
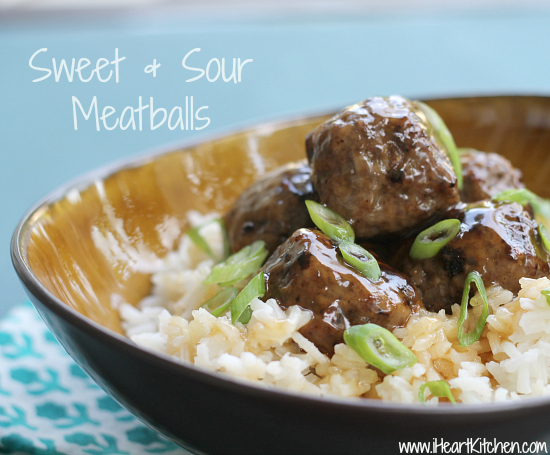 Sweet & Sour Meatballs
Michelle-
I think #8 should be spread filling mixture…not topping mixture. For those not familiar with making these wonderful treats, they might get confused.
I’m going to print this out and use in my Kitchenaid mixer! They are SO worth the effort!
This is absolutely the best batch of cinnamon buns I’ve ever made! Rave reviews all round. Thanks for posting it!
Made these twice now. As the rolls themselves are delicious, I have yet to get the topping to turn out. The first time I made them, the topping was very gritty, so I figured I didn’t cook it long enough to dissolve the sugar. The second time I made them, I cooked the topping longer and it got very hard, almost like toffee instead of caramel. So I don’t know what I’m doing wrong. I guess the next time I make them I’ll try adding a little more corn syrup.
Are you supposed to cook the topping until you can’t taste a grain of sugar? If so how do you do that without over cooking it so it stays soft and doesn’t end up hardening?
I melted butter for filling in the microwave too long by accident. Does it matter if it’s melted instead of softened?? 😐
You just want the sugar to dissolve with the other ingredients….it will be “syrupy”
Not sure about the melted butter as I have never tried it that way.
Are you not supposed to let rise in a certain temperate?
You just want them to be in a warm draft-free place as you would any other dough rise. I usually just place them off on a counter in my kitchen.
These are absolutely delicious. I’ve made them 5 times over the past 2 years. The only suggestions I would recommend are to increase the filling ingredients by 50% and increase the topping ingredients by a third more. Using the original filling amounts won’t allow you to get it spread over the entire dough surface, similar situation with the topping ingredients when trying to cover most of the pan with them.
Wonderful! My husband’s favorite!